STEPHEN SCHAFER | DOCUMENTING OUR INHERITED ENVIRONMENT
Contents:
• NATIONAL & STATE REGISTER PHOTOGRAPHY
• IRS PRESERVATION TAX CREDIT PHOTOGRAPHY
• SURVEY LA – DIGITAL PHOTOGRAPHY STANDARDS
• CITY OF LOS ANGELES – MILLS ACT PHOTOGRAPHY
• FEMA PHOTOGRAPHY GUIDELINES
NATIONAL & STATE REGISTER DOCUMENTATION
© 2024 by Stephen Schafer
Some observations about the National Register of Historic Places Photo Standards and the California State Register photo standards. For full text of the new Consolidated and Updated Photograph Policy 2024 with digital photo specifications for NRHP and NHL documentation, follow this link to NPS standards:
nps.gov-NRHP-photopolicy-link
Unlike HABS photography, National & State Register Documentation is not required to achieve a 500 year archival permanence target. Register photography can now be captured on film or digital cameras. The 2013 NR Photo policy expanded the standards to include digital cameras over 2 Megapixels (MP) and a February 2018 update expanded the allowable cameras to include mobile phones, a 2024 update has now made the formatting of deliverables clearer but still maintains the low resolution requirements. Black & white prints were required when the National Register began, but now digital color images are required delivered electronically and black and white film photography and printing is not discussed in the 2024 update.
Digital image files are now included on a removable storage device to the contact in each state. In California, in 2024, the computers used by staff no longer have CD readers, so they have been asking for the digital files on a USB thumb drive. Check with your local staff before burning discs.
 The NRHP and California State Register photographs submitted as official documentation are kept by the National Park Service (and/or sometimes the SHPO) and used (in perpetuity) for publication and other purposes. The photographer's usage follows:
"By allowing a photograph to be submitted to the National Park Service with a National Register of Historic Places registration form, photographers grant permission to the National Park Service to use the photograph for publication and other purposes, including duplication, display, distribution, study, publicity, and audio-visual presentations."
Note: this usage is more expansive than typical use licenses for professional architectural photographers, and if you hire a photographer you should discuss this permission beforehand. This permission does not require the photos to be put into the public domain, so only the NPS is allowed to use the images in this way, not the public.
Schaf Photo is accustomed to this generous usage in perpetuity, however some professional photographers may not feel comfortable granting such broad permissions to the National Park Service.
As of the 2024 Photo Policy prints are no longer required. Schaf Photo now produces NRHP nomination photos on high-resolution (46 MP) digital cameras, and we submit digital images on a USB thumb drive.
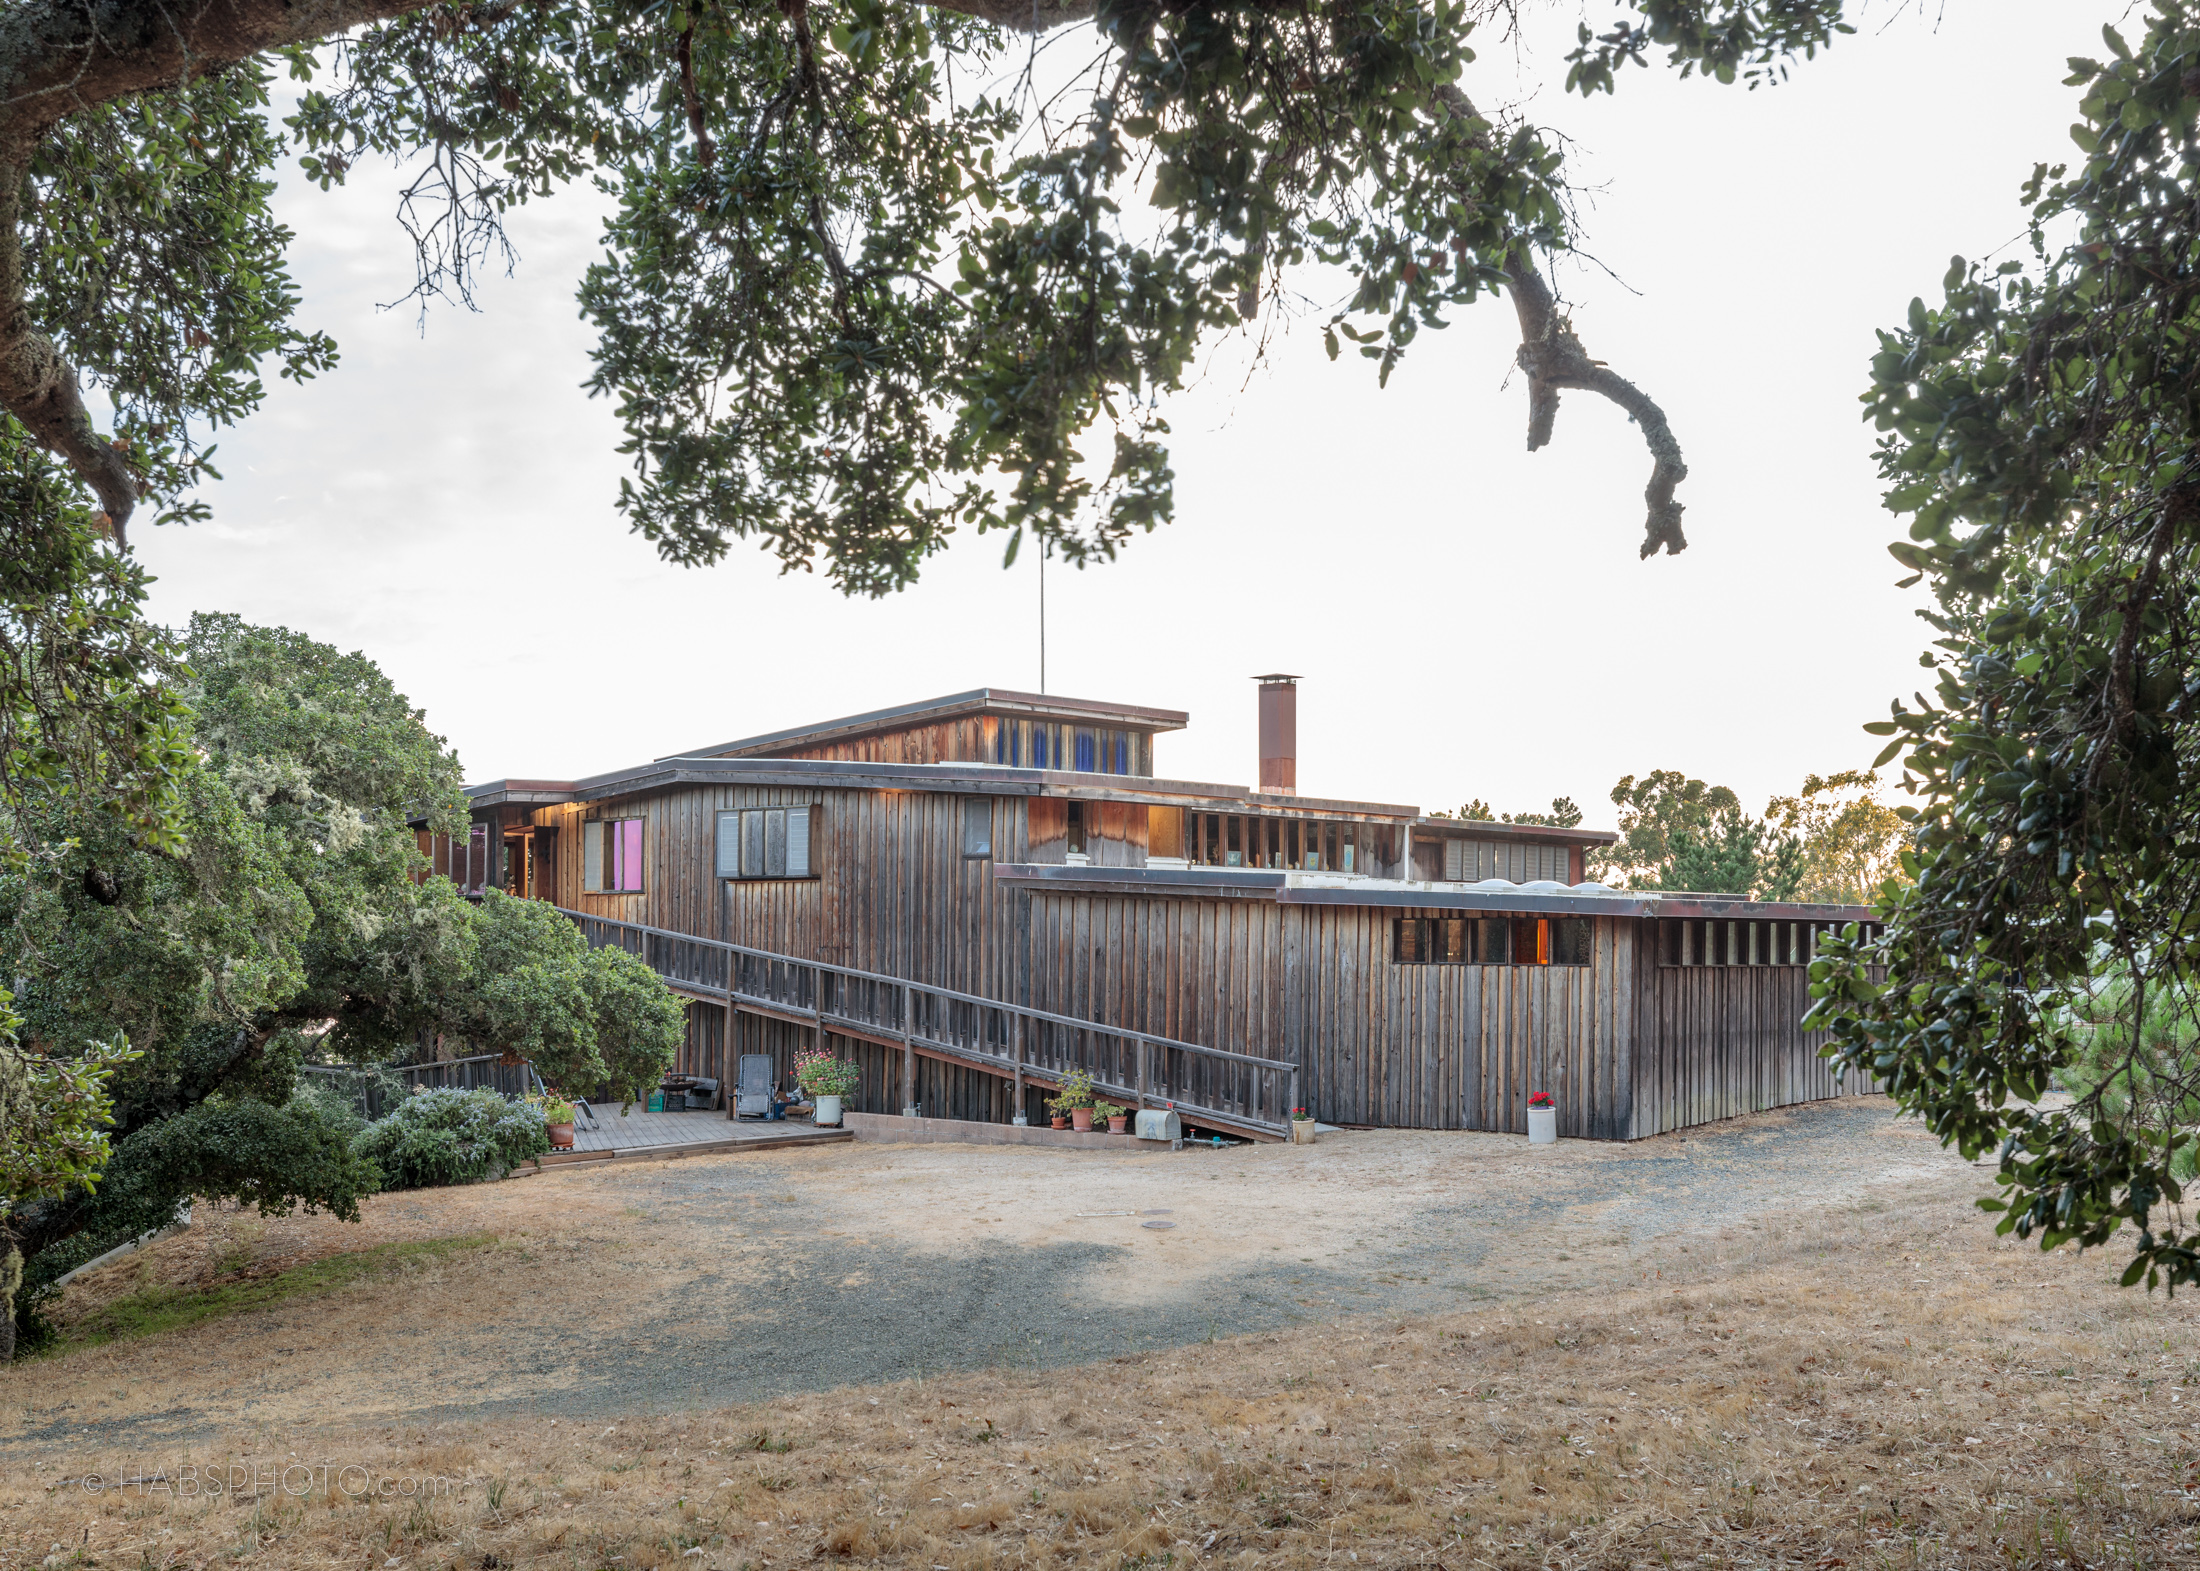
Who will determine if a resource is eligible for the National Register? In California, the State Historical Resources Commission (SHRC), a nine member review board appointed by the Governor. A staff historian from the review unit at the State Historic Preservation office (SHPO) will determine the potential eligibility of the property and create a staff report for the Commissioners supporting the nomination or recommending denial. Staff and Commissioners will be looking to the photographic and written documentation submitted for clues about the significance and integrity of the resource. The staff historians looking at your nomination should be able to zoom into the photos (and they often do) to see sharp details in highlights and shadows.
The Commissioners will be reviewing photos of the nominated place in their staff report nomination packets ahead of the SHRC meeting, and then again in a Powerpoint slide deck put together by staff using the photos. Since the SHRC meetings move around, the Powerpoint projection is not always optimum – it can be small or fuzzy or shown in a bright room – but the Commissioners should have already studied the photos in their staff reports. The best way to illustrate the significance/integrity of a resource is through sharp, well-lit, documentary photographs. The photos should not be an afterthought but rather the key to your nomination; the better the photos, the better your chances of a successful National or State Register listing.
www.HABSPHOTO.com
•
IRS PRESERVATION TAX CREDIT PHOTO STANDARDS
2023 excerpt from: United States Department of the Interior
National Park Service National Register of Historic Places Webpage
General Information on Tax Credit Photography Requirements:
 Applications must include photographs documenting the appearance and condition of the building’s exterior, interior, site and environment prior to the start of rehabilitation (Parts 1 and 2) and after rehabilitation is complete (Part 3). Where such documentation is not provided, review and evaluation cannot be completed, resulting in denial of the requested certification.Number of photographs: Applicants must use their judgment as to how many photographs adequately "tell the story" of their building. Large or complex projects often require more photographs to illustrate the various elements and areas the building and site.Labeling photographs: Photographs must be labeled with the following information: Building name and/or address View shown (e.g., north side) Description of the view (e.g., plaster damage in dining room, north wall) Date taken Photographs must be numbered and keyed to both the description of proposed work in the application and photo keyed plans of the building and site.Clarity of photographs: Photographs must be clear and must have sufficient resolution to show the details required for review of rehabilitation work. Photographs must be: In color; Taken at a high resolution; Printed on photographic, not photocopy, paper, and Printed at least 4” x 6” in size.
Format of photographs: Photographs must be printed. Photocopied photographs (black and white or color), instant photographs, and photographs smaller than 4” x 6” are not accepted. Applications with photographs that are not adequate for review will be placed on hold, and applicants will need to submit better quality photographs before NPS can complete review of the application.Please note that photographs and other materials submitted with an application become the property of the National Park Service and may be used in publications and informational materials about the tax incentives program.
Schaf Photo tips (2020) Check with your state reviewer for current guidelines:
Two print sets are needed in California: one for SHPO, and one that SHPO will forward to NPS (and in some cases one for the client and/or consultant's files.)
• In California, photographic documentation submitted with applications should be in the form of conventional 4x6 color photographs.
• Photographs must be labeled on the back with the following information: address and building name (if applicable), view (e.g. north side), and description (e.g., plaster damage in dining room, north wall).
• Photographs must be numbered and keyed to the description of proposed work on the Part 2 form and keyed to a plan(s) of the building.
• Applicants must use their own judgment as to how many photographs adequately “tell the story” of their building. Larger projects require more photographs to provide detail shots or to illustrate the various elements and areas of a large building or complex.
• Photocopied photographs and instant photographs are not adequate for review. If an applicant cannot supply better photographs, the SHPO and the NPS may not be able to evaluate an application, and the application may be denied certification of rehabilitation.
• Several photographs of the site and setting of the historic structure(s). This should include photographs taken both up close, showing the individual property site, and from a distance, showing the street setting of the structure(s).
• At least one photograph of all existing elevations showing the entire elevation. This includes all structures affected by the proposed rehabilitation, such as carriage houses and outbuildings. Elevations that are partially blocked by adjacent structures or trees may require photographs to be taken from several different angles or locations to completely document these elevations.
• Detailed close-up photographs are needed of specific architectural features affected by the rehabilitation, such as windows, doors, balustrades, trim, etc. Submitting several representative photographs of multiple features, such as windows, is acceptable providing the photographs submitted adequately represent the condition throughout the structure.
• Photographs of all interior spaces should be taken with a wide-angle lens from diagonally opposite corners of the room. This includes all interior spaces affected by the rehabilitation. If like spaces or rooms exist, such as floor after floor of warehouse space, then submitting several representative photographs documenting the condition throughout the structure is acceptable.
The Documentation will be the primary record of the project as the tax credit project proceeds. The State Preservation Architect at OHP may or may not visit the site, but the NPS reviewer is located in Washington D.C. and very seldom visits distant project sites, therefore, the photographs will be the common visual reference when questions arise concerning the buildings condition during rehabilitation work. As Tim Brandt the former SHPO architect at California OHP told me, "I get on the phone with Washington and spread the photos out on a table and we go over them together."
The photographer will need to use good judgment in determining the number of photographs needed to fully document the site. Since all photos will not be used, photographs should first be provided to the consulting team on proof sheets (or single set of 4x6 Prints) from which a sufficient number can be chosen to best document the project. (Schaf Photo note: if there will only be a small number of prints culled from the complete recordation of a building, the photographer may want to have all prints printed at the time of developing to save money; then discard the few prints that will not be sent, as original first-run prints are less expensive than reprints. Photograher's tip: case of reprints, have the negatives rolled, not cut into sections of 5 frames.)
Suggested Photo Content:
Exterior Elevations
Photos are needed of existing conditions and character defining features:
Panoramic shot of the roof and each of the four elevations (if possible) if not overlapping sections with clear transitions.
Close up shots focusing on portions of the façade with major architectural projections such as the north or south wing of the primary elevation.
Shots of major architectural details such as entry doors and surround, balconies, and third story colonnade.
Details of any unique windows, chimneys, or openings.
One shot of typical details, repeating windows, grills, corbels, pilasters, lighting fixtures and doors.
Photos of all area that will be affected by proposed work.
Shots of condition issues: broken, water damaged, missing features, deferred maintenance, and incompatible replacement or repairs.
All exterior fixtures and equipment attached to or in proximity to the structure.
Setting/Context (wide views of area). Photos are needed of the site and its environment, shots should include: Distance shots including at least two perpendicular elevations with surrounding setting. Courtyards and details of courtyard furniture and decorative plaques. Streetscape and building frontage on streets, alley ways or vacant property. Immediately adjacent structures or vacant properties, and sites of proposed new development.


WINNER 2010 LOS ANGELES CONSERVANCY PRESERVATION AWARD!
The SurveyLA Public Participation Program:
Project Leads: Ken Bernstein, Janet Hansen, and Rita Moreno, City of Los Angeles Office of Historic Resources
MyHistoric LA Guide, Speakers Bureau Training: Historic Resources Group
Translation: Languages 4 You
Photo Tutorial: Schaf Photo
Website Design & Development: Urban Insight
Video Production: Full Vision Productions, LA City View Channel 35
Graphics: LA City Planning Graphics
More information Here: Historic Places LA
General Guidelines for Photographing Individual Resources and Historic Districts (2010)
● STAY in the public right-of-way. No trespassing onto private property.
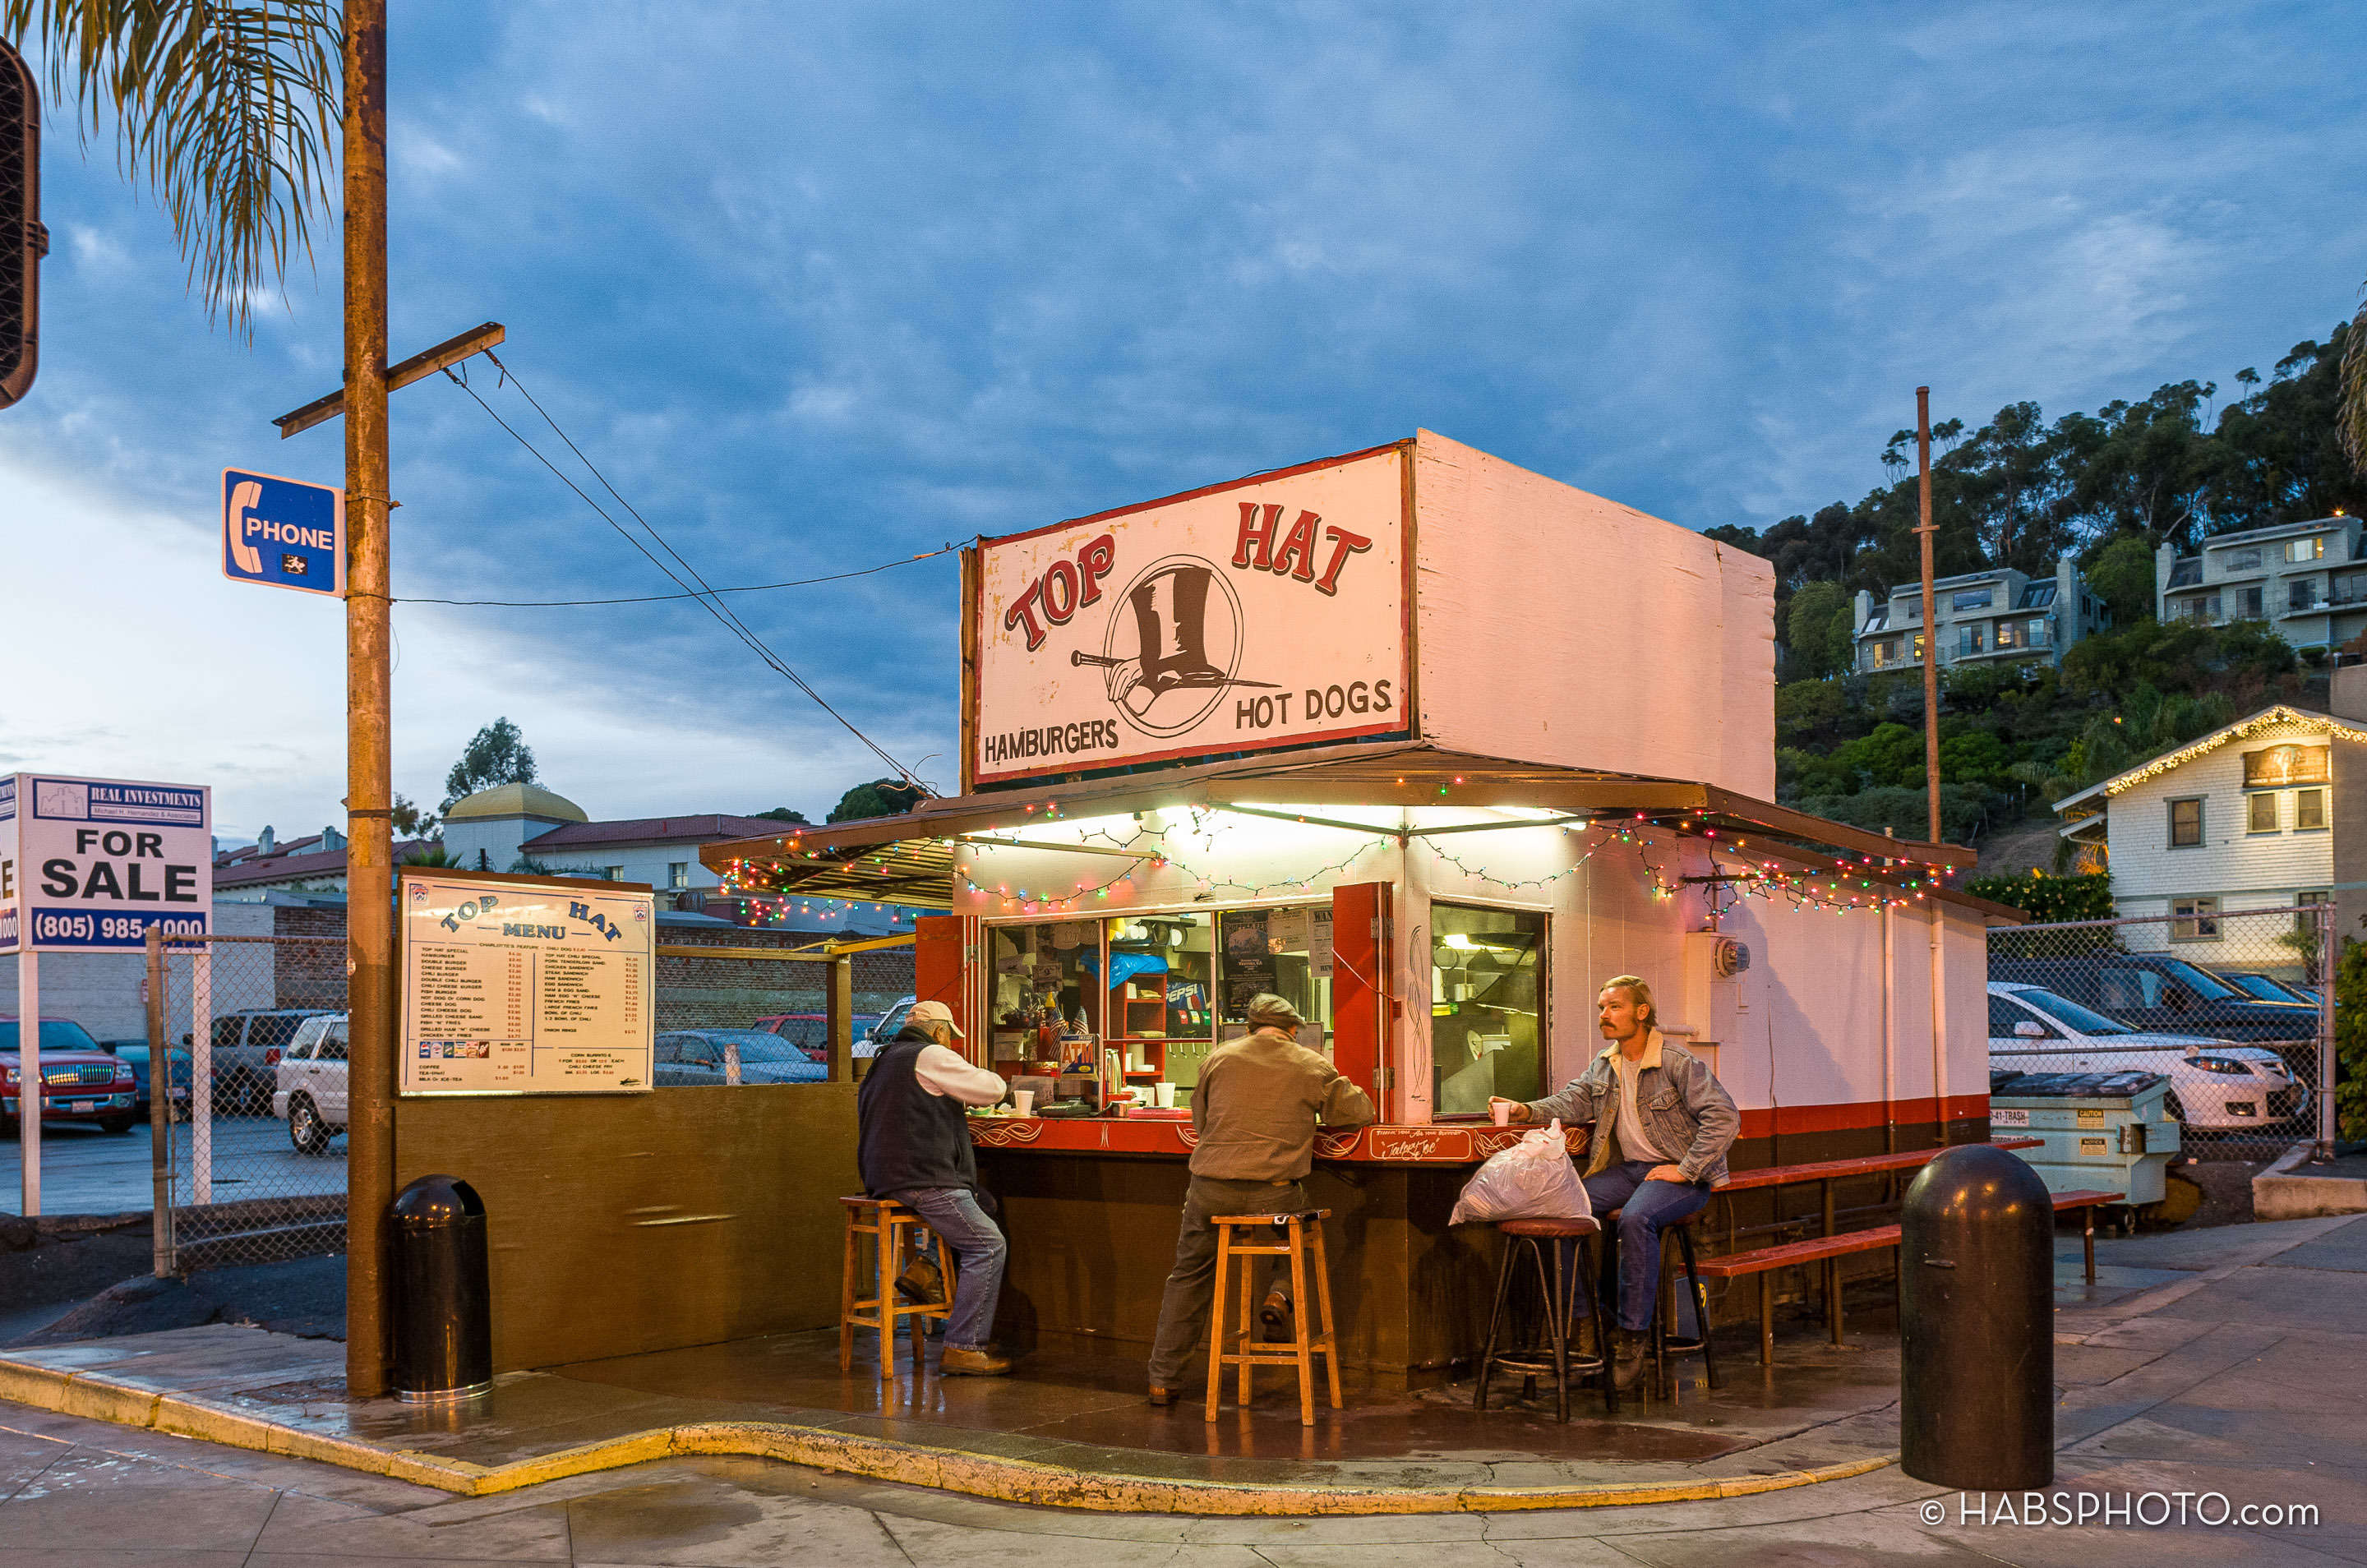
● Position the camera to avoid trash containers, litter, people, animals, car mirrors, car windows and reflections, surveyor’s hats, arms, hands, fingers, etc.
● Take one photograph of every resource recorded, even if the resource is not visible behind walls, landscaping, etc.
● Try to fit any related features (i.e. garages, landscape features) in the frame with the primary resources. Take additional photos only when absolutely necessary.
● Try to keep the resource front-lit. Keep the sun over your shoulder whenever possible, and plan your survey route accordingly.
● When photographing buildings, remember the acronym FRoWSE, which stands for Foundation, Roof, Windows, Siding, and Entrance. Try to capture as many of these elements within the frame as possible.
● Take photographs of resources from an angle (oblique - two sides). This way, you capture valuable information about the size and depth of the resource.
● Let the resource fill as much of the frame as possible while still giving the resource context fill the frame 80% with the resource.
● When recording historic districts, in addition to photographing all contributors take context views to include representative streetscapes which show the relationship of the buildings to each other, setbacks, building heights, landscape and hardscape features, etc. To facilitate efficiency in the field, SurveyLA methodology calls for context views and photos of non-contributing buildings to be taken by volunteers.
● While you may need to provide some written information about the photo (i.e. if only part of a building is visible from the public right-of-way you may need to explain the view) do not spend excessive time writing photo descriptions.
1. Photos will be taken both by professional field surveyors (i.e. historians and architectural historians) as well as volunteers/interns.
2. We hope to have minimal time spent on photography. There are 880,000 parcels in LA so surveys will need to proceed quickly.
3. One of the purposes in using WiFI is to avoid taking time to name photos in the field (automatically tied to the parcel)
4. I think we are generally looking at one photo per resource so we need to give instructions to get the best photos in the least amount of time.
5. I like your suggestions for giving recommendation on how to proceed methodically in a historic district.
6. Architectural historians rarely think about lighting considerations (time of days, sun, shade)
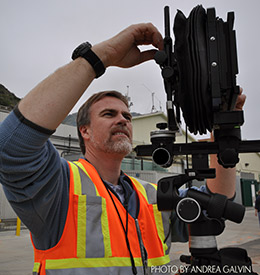
Note: Suggest that surveyors NOT make obvious the fact that they have expensive equipment. Sometimes it may be wise to downplay your dress, however on busy streets surveyors should always be in teams and may wish to wear NEON safety vests. Early morning may be the best time to survey residential neighborhoods, because people are still asleep. Sometimes it is faster to photograph single houses in neighborhoods from across the street, and then walk back and do the data-input part of the survey on the tablet.
Camera (2010) specifications):
Digital, 4+ Megapixels. [ 2024 recommendation of 12-18 Megapixels]
Wide-angle lens 21 to 28mm equivalent
(extra battery)
Digital camera menu settings:
4 to 5 Megapixel resolution setting. ( If your camera shows size in pixels, set it between 2100 and 2700 pixels in the long dimension.)
Jpeg compression setting: High (fine) (large) Quality setting for jpegs.
Most teams are using cameas that record to SD cards.
Transfer from camera to PC via card reader. (USB external, plug-in type card reader or built-in SD reader in some tablets.)
(2 memory cards recommended)
We created a documentary photography workshop for SurveyLA
Here is the free photo tutorial where you can learn the meaning of F.Ro.W.S.E. and
best practices for historic survey photographs. Downloadable PDF here:
https://habsphoto.com/Artists/14047/SurveyLA_Schaf_tutorial.pdf
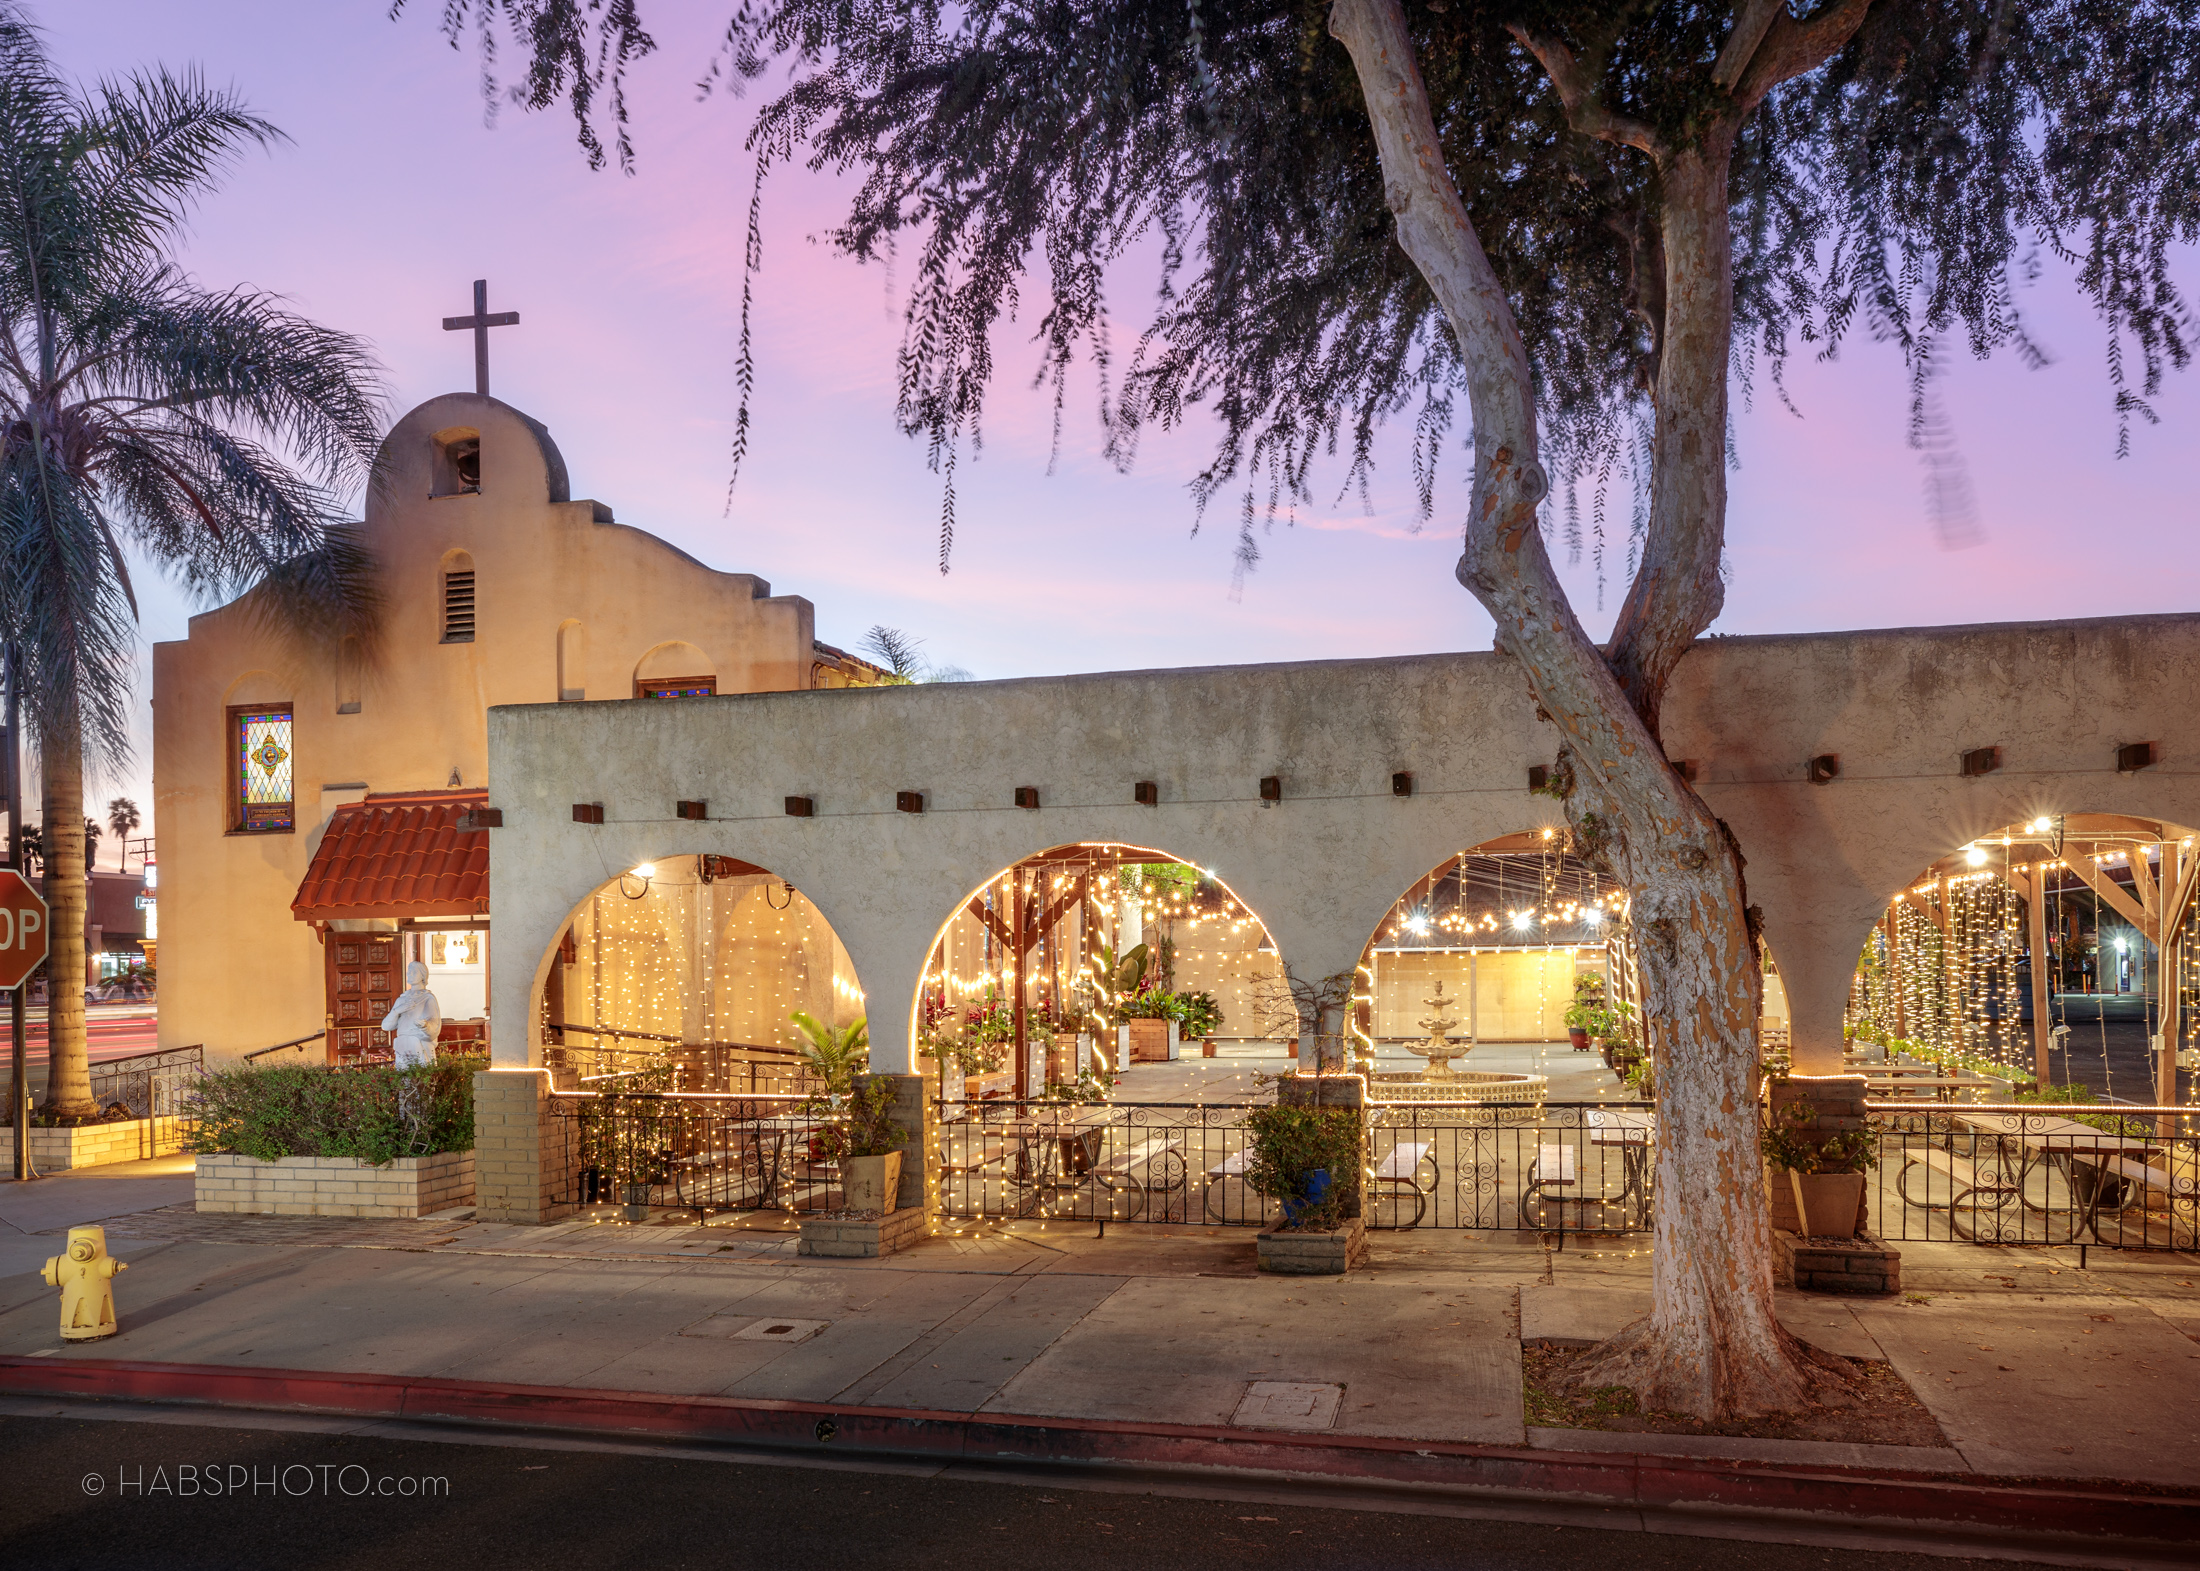
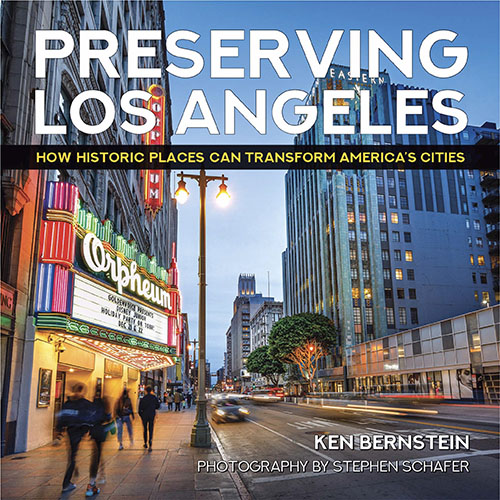 The book Preserving Los Angeles illuminates a Los Angeles that will surprise even longtime Angelenos—highlighting dozens of lesser-known buildings, neighborhoods, and places in every corner of the city that have been “found” by SurveyLA, the first-ever city-wide survey of Los Angeles’s historic resources. The text is richly illustrated through images by architectural photographer, Stephen Schafer. The photography-heavy appendix devoted to SurveyLA, can serve as a field guide to hundreds of the city’s most notable locations.
More information Here: Preserving LA Book Link
•
CITY OF LOS ANGELES MILLS ACT PHOTO GUIDELINES 2015
(Archive copy from 2015)
Contact LA City Planning for current requirements – These guidelines were retrieved 2015
2015 Photography/Property Visual Documentation: Excerpted from MILLS ACT APPLICATION GUIDE Revised January 2015. While these guidelines no longer apply, current guidelines may be similar but the deliverable specifications and transmittal media have changed
Photographs of the entire property; include both exterior and interior spaces and features. The set of images shall include at least two full-room views of each room (generally one image taken from opposing corners is sufficient) and as many views of architectural details necessary to document the character defining features of the structure(s) and site. Include images of any original hardscape or landscape features and the existing conditions of all yards/open space that are part of the property.
Images may be digitally obtained and printed ...
... with each image labeled according to view and content. Each page shall also identify the property address, date of photographic images and photographer.
•
Archive of 2001 FEMA Guidance for Photographing Historic Resources
Posted as an abridged archive of the 2001 FEMA Photographic Essentials.
Perspective and Elevation Photographs
Architectural photographs are of two general types: perspective photographs and elevation photographs. A perspective photograph (oblique) shows two sides of a structure taken at a 45-degree angle thereby documenting its characteristics as a three-dimensional form including size and volume. (In a perspective photograph, the structure should fill about 75 percent of the frame, thereby including some environmental context.) An elevation photograph approximates an elevation architectural drawing and is taken head-on as if it were totally flat. The emphasis on one side of a building as two-dimensional surface makes an elevation photograph more axiomatically correct. (In elevation photographs, the structure should fill the frame, isolating it from its surroundings.)
Required Camera Type
The minimum camera requirements for this photographic guidance are a 35 mm camera or digital camera. The digital camera should be at least a medium-resolution camera which constitutes the majority of consumer digital cameras.
Camera Handling
A primary requirement of an architectural photograph is that vertical lines that are parallel in the building should be parallel in the photograph. In other words, the outside walls of a structure should not appear to converge toward the top of the photograph making the building look like it is falling over. This is especially important in elevation photographs. Convergence occurs when the photographer tilts the camera backward to get the top of the building in the photograph. To overcome convergence, you should hold the camera so that the back of the camera is vertical, at a 90-degree angle to the ground. This insures that the plane of the film, in the back of the camera, is parallel to the plane of the building.
Film
You should use Kodak Royal Gold color negative film of ASA 200 or ASA 400. Black and White film is found to be much greater archival stability, so for negatives intended for archival storage, the use of black and white film is preferable. Since color information is often more useful for planning and design, the use of a second camera body and the shooting on color and black and white would be ideal. It is now recommended that a complete set of digital images be made when the film is processed, a service that is now often quite common and reasonable. These digital images may not be at the resolution of the film, but they are more useful than film for filing of images in a number of places, and dissemination of images with no loss of resolution.
THREE FEMA LEVELS OF PHOTOGRAPHIC DOCUMENTATION OF HISTORIC RESOURCES
There are three levels of FEMA photographic documentation. The minimum level is the minimum number of photographs needed to record a three-dimensional built form. The basic level is the type and number of photographs needed to record as much information in as few images as possible, and the expanded level is the type and number of photographs needed to make a complete evaluation of integrity.
The Minimum Level of Photographic Documentation
At a minimum, two perspective (oblique) photographs are required to document a building or structure. These include a photograph showing the front and one side of the building and a second photograph showing the rear and the other side of the building. These two photographs document all four sides of a building. If photographs will be taken in cities and towns where the buildings are at high densities along streets and it is not possible to get a rear perspective. In this situation, the second photograph should be an elevation and a third might be an important architectural detail.
The Basic Level of Photographic Documentation
The most widely recognized guidelines for photographically documenting historic resources are those of the Historic American Building Survey and the Historic American Engineering Record (HABS/HAER) of the National Park Service. For FEMA, the initial survey will probably concentrate on the exterior. Integrity decisions are made of the basis of the exterior for two reasons. The first is because the exterior of an historic resource conveys the most information about the aspects of its integrity. Secondly, and very practically, because in a response phase you will only have time to document the exterior of a resource and will be taking photographs before interiors have been certified as safe to enter. The exterior is also important because a resource cannot have lost its integrity on the exterior and still retain overall integrity.
Based on HABS guidelines, FEMA considers the following views of the exterior essential for architectural structures:
1. General view at a distance sufficient to show environmental setting, landscaping and adjacent buildings, if appropriate
2. Elevation of front façade
3. Perspective view of the front façade and one side;
4. Perspective view of the rear and one side
5. Close up view of the main entrance
Damage to the structure caused by the natural disaster should be evident as part of these views. If you do move in to shoot details of damaged areas, be sure to show how the damage relates to the overall building. If the interior is documented, the following views should the taken:
1. A view from the main entrance looking to the interior of the building.
2. Views of major spaces/rooms including important features such fireplace or mantle (for large spaces such as sanctuaries, factories or barns take diagonal views from opposite corners)
3. Other significant rooms or features as considered relevant to documenting the structure.
Since you will be working under intense time pressure with FEMA – to document as many buildings as quickly as possible – you should approach each structure with this checklist in your mind (of the five basic exterior views and three basic interior views).
When to Expand the Basic Level of Documentation
You should determine whether to expand this basic level of documentation depending on the nature of the structure being photographed and what needs to be documented. For example, two perspective photographs work best on square or rectangular structures with four outside walls. A structure of more complex shape, with more outside walls, such as C-shaped building, will require more perspectives to insure that all of the walls are included in at least one photograph.
The Expanded Level of Photographic Documentation
In doing the walk-around to become familiar with the physical characteristics of a historic property, you also need to evaluate the physical damage – where it is and how extensive it is. You should plan your photography to include both the most damaged part of the building and the part that remains most intact. In order to accomplish this you may need to expand the number of photographs in the FEMA basic guidance. For example, the circular motion of hurricane damage can be so tight that it will take off one corner off of a building while leaving the rest intact. You should try to photograph important features of a building if they have been blown off from wind damage, but still remain partially intact.
Although we will discuss the documentation of aspects of integrity by type of view below, the organization of views at this expanded level are from views of the overall building to the closer views of architectural elements and details moving in a counterclockwise fashion. (As indicated, this is the sequence for detailed HABS/HAER coverage). Each side of the property is photographed from the overall view, such as elevation, to detailed views in the zoom lens manner of looking at a property as discussed above. For documenting integrity, this sequence specifies an approach that can be varied depending on the complexity of the building.
Environmental
1. Environmental view of the front and right side (looking at property from front) (FEMA Basic)
2. Environmental view of the rear and right side Perspective
3. Perspective view of front and right side (FEMA Basic)
4. Perspective view of rear and left side (FEMA Basic)
Front side
5. Elevation of front façade
6. Elevation or perspective of front entrance (FEMA Basic)
7. Perspective or elevation views of architectural elements such as porches or windows
8. Details of materials and/or decoration
Right side
9. Elevation of front façade (FEMA Basic)
10. Perspective or elevation views of architectural elements such as porches or windows
11. Details of materials and/or decoration
Rear
12. Elevation of rear
13. Perspective or elevation views of architectural elements such as porches or windows
14. Details of materials, hardware and/or decoration
Left side
15. Elevation of left side
16. Perspective or elevation views of architectural elements such as porches or windows
17. Details of materials, hardware, and/or decoration
Remember, however, that these are guidelines to be modified depending on the building, or structure, and its environment.
“Working a property:” Organizing Documentation with a “Shoot List”
It is essential to organize your documentation according to the FEMA guidance levels and maintain a list of captions of your photographic or digital images. A photo index in which exterior photographs should be listed in the same counterclockwise sequence in which the photographs were taken. Since the final photo index will be organized this way, it makes sense to organize your preliminary “shoot” list in this same manner. A “shoot list” is the list of photographs you plan to take after you have surveyed the building making the circular walk on the outside and walking though it. When doing more than the minimum two-shot documentation, it critical to plan your photographs for three reasons: after you start you can easily forget what you have photographed; once you start shooting you will see views you had not anticipated; and it is the basis for your index and description of views.
The Complete FEMA Guidelines were previously found here (Now a dead link): https://www.fema.gov/media-library/assets/documents/4264
• • •
Stephen Schafer | HABSPHOTO.com
DOCUMENTING OUR INHERITED ENVIRONMENT
Stephen Schafer is an architectural photographer with over 30 years of experience, coupled with the unique equipment required to produce photographs in remote and difficult locations. We create fine photography of heritage resources, significant architecture and National Register nomination photographs for local, state, and federal programs.
©2024 Stephen Schafer